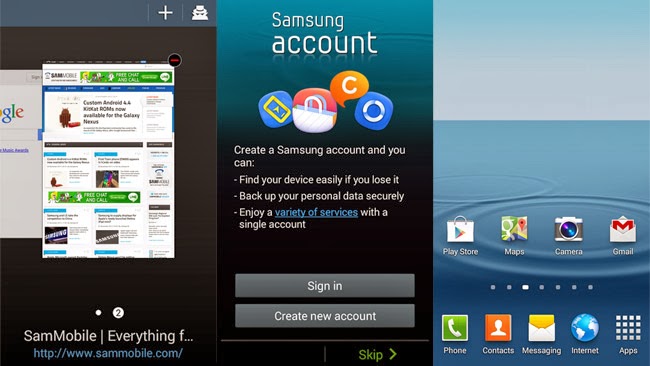
Well, all this while I was thinking that in Malaysia, official Android 4.3 Jellybean have been already made available via Kies, which I only checked today as my father requested me to check his Samsung Galaxy S3 if there is any updates available. So I tried checking if there is any OTA updates available, and it showed that it was already running on the latest firmware available, which is the Android 4.1.2 Jellybean. Next, tried the Kies method, and it showed the same message. So there it goes, to not disappoint my father, I did a manual firmware update as even when I looked up on Sammobile.com, Malaysia’s firmware is not available yet which explains why there is no OTA or Kies update available. In order to proceed to the manual update, I choose the closest choice of country nearby to Malaysia which is Indonesia. Below I will show you step by step guide of how to get this done, a mini tutorial section guys!
Firstly, few checklists to be done before we start flashing the firmware. Make sure you have backed up your data to your computer, as this is always recommended just in case if some data is lost which is quite common when upgrading to a newer version of firmware. Next, make sure your Samsung Galaxy S3 drivers are installed on your computer, I am quite sure most of you have installed it if you have Kies in your computer, but if you would still want to get it installed in a alternative way, go ahead and grab it from here.
Next, make sure USB debugging is enabled, Settings > Developers Options > USB Debugging and last but not least, make sure your phone is charged at least above 50%. Okay, now we are ready to get towards the firmware flashing section, download your preferred firmware of your choice for the Samsung Galaxy S3 I9300 from here which will be in a Zip file and extract it to a separate folder in your computer. Followed by downloading the Flashing Tool Odin which you can get it from here and get it installed in your computer as well.
Now, turn off your device, and reboot into download mode by pressing volume down + home button + power button simultaneously. Okay, now you should run the Odin flashing tool, and get your device connected via the USB cable to your computer. Immediately you would realize that the Odin flashing tool would have detected your device which can be confirmed once the word “Added!” appears in a yellow background.
We are almost done, now on Odin flashing tool, click on PDA and redirect it towards the folder which you extracted the zip of the downloaded firmware, select the file which ends with .tar.md5. Once done, do the same by clicking on Phone and select the file which contains MODEM name in it. Click on the CSC button, and choose the file with CSC name in it and lastly click on PIT and select the .pit file. Please take note this, make sure that the re-partition option on the Odin flashing tool is not ticked. Now you are ready to click on the Start button to kick-start the installation process.
It would take about 10-15 minutes usually to get this installed, and once it is completed, the Samsung Galaxy S3 would reboot automatically. Now you can unplug your device and wait for it to initialize. That’s it guys, you should be running on Android 4.3 Jellybean without any problems. Also, do take note if you realize that there are some force close messages keep on appearing, you have no choice but to make a factory reset which would solve the problem, that would erase all of your saved data on your device, unless it is saved in your SD card or even your computer.
If you need assistance or further guide on how to get this method to work in case you are still unclear about it, feel free to leave comments below as I would respond instantly.

